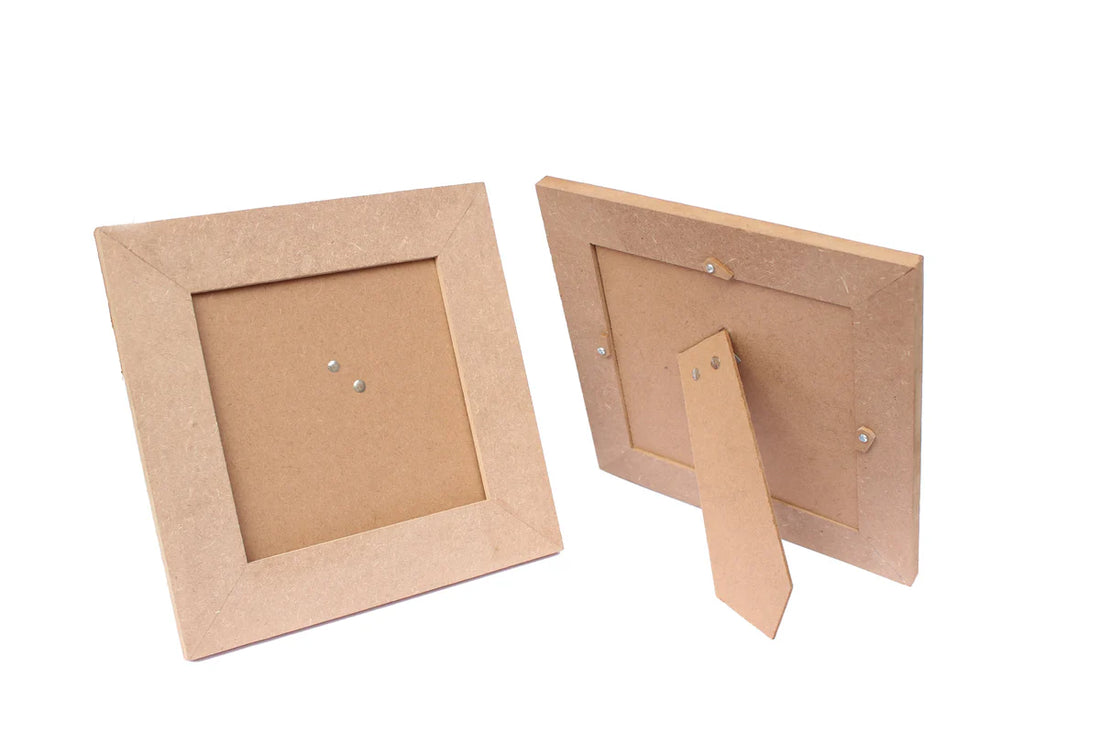
How to make DIY MDF photo frames
Share
Are you looking to add a personal touch to your home decor? DIY MDF photo frames are a great way to showcase your favorite memories in a unique and creative way. In this blog post, we will guide you through the process of making your own MDF photo frames.
What materials do you need?
To create your DIY MDF photo frames, you will need the following materials: MDF board, a saw, sandpaper, wood glue, clamps, paint or stain, a ruler, and a pencil. These materials can be easily found at your local hardware store.
How to cut and assemble the MDF board?
Start by measuring and marking the dimensions of your photo frame on the MDF board using a ruler and pencil. Once you have your measurements, carefully cut the MDF board using a saw. Make sure to sand down any rough edges for a smooth finish.
How to paint or stain the photo frame?
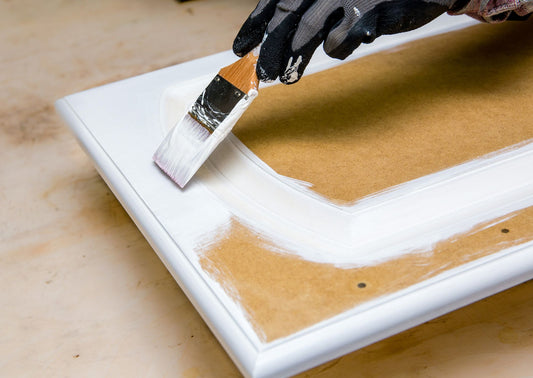
After assembling the MDF board into a frame, you can choose to paint or stain it to match your home decor. Apply a coat of paint or stain evenly and let it dry completely before adding your favorite photo.
How to add the photo to the frame?
Once the paint or stain has dried, you can insert your favorite photo into the frame. Secure the photo in place with a small amount of wood glue or double-sided tape. Allow the glue to dry before displaying your DIY MDF photo frame.
By following these simple steps, you can create beautiful and personalized MDF photo frames to showcase your cherished memories. Get creative with different colors and designs to make each frame unique. Happy crafting!


